But
I did just that this morning with the transfers.
I feel like I have made enough to tackle the large one that I plan to be the central portion of my upcoming fall piece. And, you know what, if it bombs, I can make another one---what a novel thought for me!
Here a few tips that I learned:
- Make sure the transparency is the right one for your printer. My inkjet printer uses a transparency with a smooth and a rough side. The rough side is the one that accepts and releases the ink.
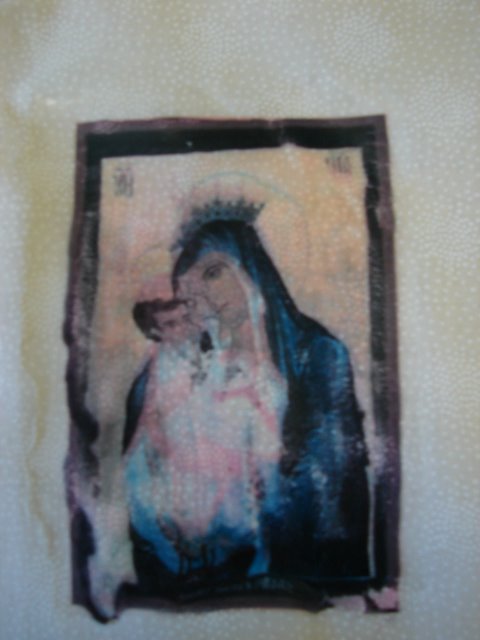
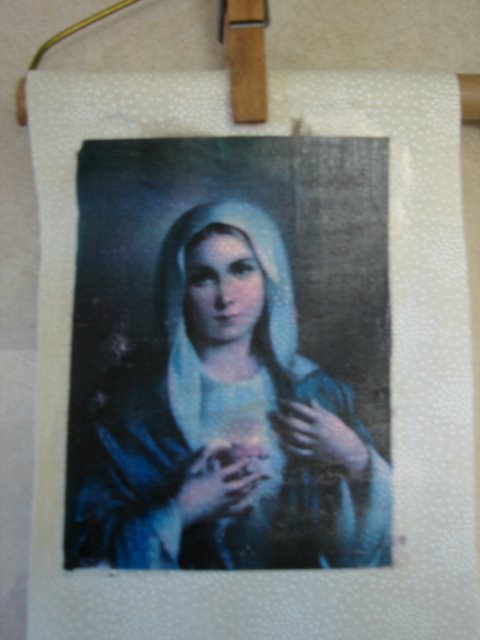
- The images with more contrast show better. Some ink colors give off more color than others even though the transfers are consistent.
- When applying the transfer medium, put on a consistent layer. It doesn't have to be very thick but it does have to be even.
- When applying the transfer medium, any that goes over the edge of the image has to be dealt with in the piecing or appliquing part so keep that in mind. Don't waste alot on the outside margin. By the same token, make sure the edges are well covered so your whole image transfers.
- Let the images dry before "testing" them with your finger!
- If the image is not coming out on the edge, repress with your spoon or credit card until the medium releases smoothly.
- Be sure and reverse any writing. It has been bugging me for weeks that people said it was possible. Today I found out how to do it-----it is an option on the printing layout.


1 comment:
Thanks for the advice. I just got some gel medium and as soon as I get my transparencies I'll be ready to try!
Post a Comment