The Madonna Idea is at the uppermost rung of the hierarchy. Below it is the ARTImage Challenge. Below that are the Fabric Postcards.
The Fabric Postcards are experimenting grounds for future ideas and techniques. This last round featured rubber stamped images. This in itself is not a new technique but it is new in that it worked! I actually got the images to be stable.
For this month's ARTImage Challenge, I wanted to include at least one Madonna with child. The piece will be a memorial to my oldest son who died in 2001. I have a wonderful image of the Madonna holding a red haired Jesus. Will was a redhead and the image reminds me of him. I don't recall where I found it but I know that it was from the '90s when I first started collecting Madonna images.
The image was printed on some heavier paper so I was doubtful that it would transfer well. Special note here: you could fill a thimble with my knowledge of photo transferring.
During the '90s I also became interested in photo transfer and Hobby Lobby had this special transfer medium for white or colored fabrics. When it went on sale, I bought 4 bottles of it. Recently, I decided to try some manual photo transferring again.
I plan to do some photo transferring for my fall Madonna piece so I wanted to experiment on this month's ARTImage Challenge. Do you see how the hierarchy is working?

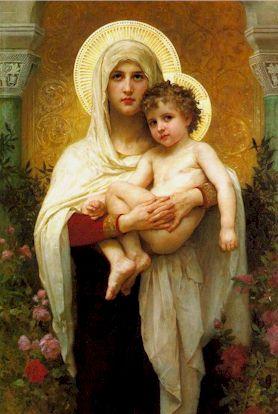
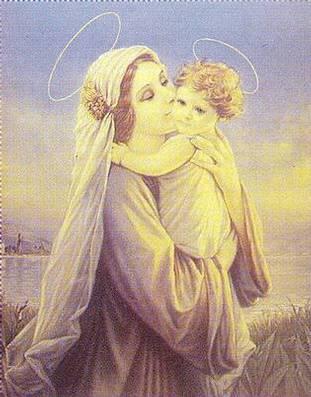
I printed some images that I have collected on-line to try also. They were printed on regular paper.
Directions (abbreviated):
- coat the image with the medium ---on the face of the image---herein lies the trick (I am beginning to think)----the amount of medium is what actually becomes the "piece" that is the transfer
- lay it down on the fabric---medium to fabric
- press out the bubbles
- let dry overnight
- wet a sponge and begin to "wipe off" the paper--herein is the next trick---be careful not to wipe off the image too! I think if you have enough of the medium, which has dried into a base, you are OK. If not, the image disappears.
- let dry and repeat as needed. The directions suggest twice. I have had to go in 3 times and the last time I just held the transfer under a stream of water. At this point you are trying to get the paper off the transfer image.
Below are my results:
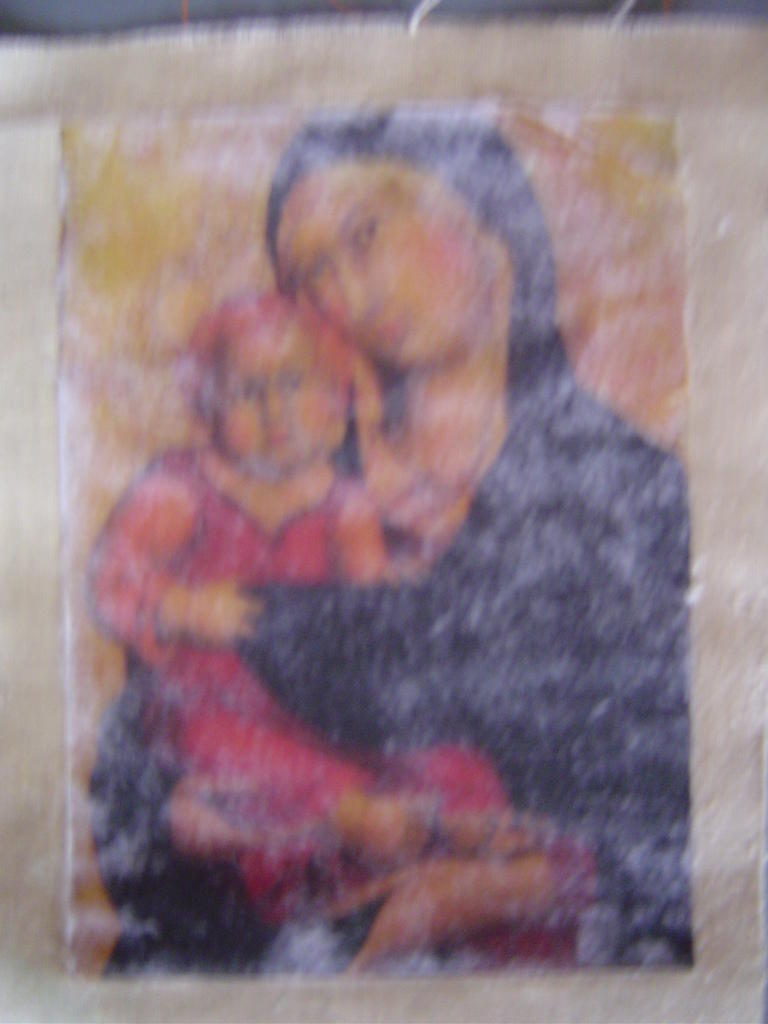


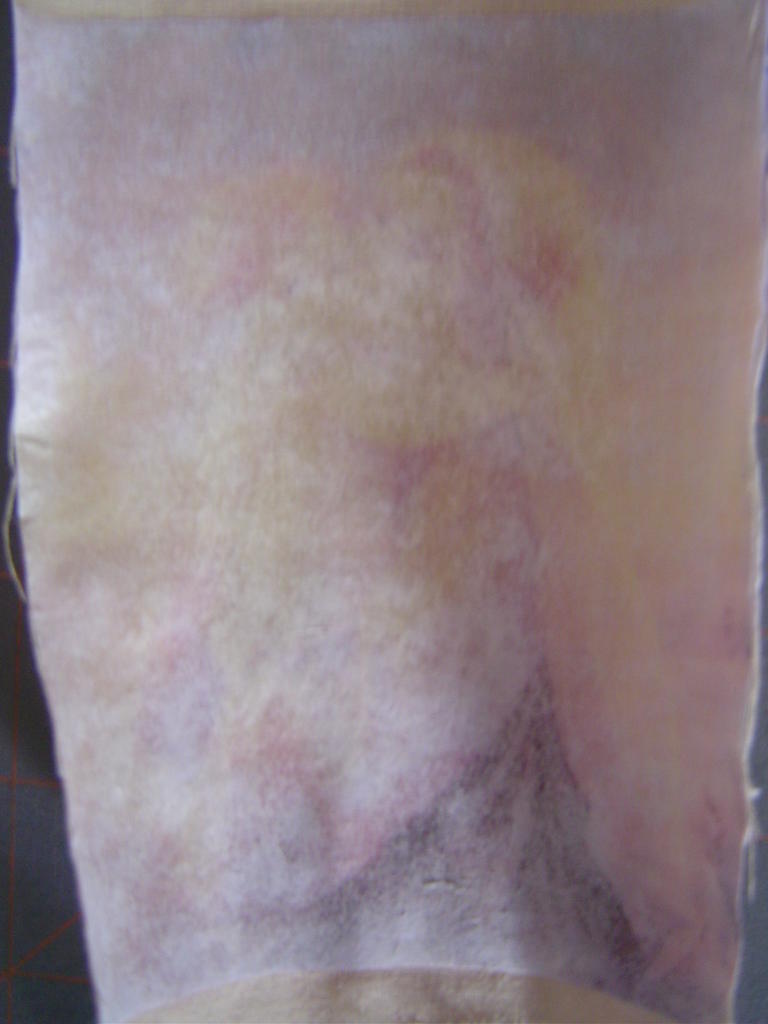
As you can see, this technique is less than perfect. But, as I look at the decreased images that transferred, it rather reminds me of my relationship with my son. I am not sure I have the courage just yet to explore that idea but I also see some value in how the images manifested themselves.
Unless I really perfect this technique, I doubt that I will use it for the fall Madonna piece. It is just a little too unpredictable. I tend to be impatient with experiments. I want predictable results!
I have been pretty successful with photo transferring directly from the computer but with 4 bottles of this Transfer Medium I would like to at least use it up!
Any suggestions???
~~~Debra
4 comments:
Have you tried printing the pictures out on overhead plastic? What you do is this: print pic out on overhead material, let dry. In the meantime coat piece of fabric with gel medium, then put image side down on the fabric and burnish the dickens out of it with a spoon. Let us know if you try it!
hugs, Becky
Creative Passage
I can sympathize with the four bottles of stuff, but the results are not very impressive, and there are other techniques that give better results. I like the iron-on transfers you run through the printer and then iron on. The only drawback is that the transferred image is a little stiff. I just bought the fabric sheets that you run through the printer, so I'm going to try those next for images that I want to drape softly. I'm also intrigued by the overhead transfers that becky describes. On a wallhanging I'm sometimes tempted to just sew down paper as well. I think you have to try different things until you get the results you're after. Barbara
Becky & Barbara, I'll try the overhead idea & post my results. I think that these bottles are basically gel medium --from what I can gather by comparing the other gel medium that I have. It's worth experimenting with anyway.
I bought the bubble jet solution and will try some of that too. My ARTImage Challenge collages are made without the solution and I have this fear that all the images will disappear into thin air some day.
I have sewn paper onto wallhangings and it does stay surprisingly well.
There is a product called Lazertran - you need to print it on a commercial photocopier. There is also some stuff called Bubblejet?
I have heard offabric ironed on to freezer paper before being put thru an inkjet printer which workswell I am told.
Try
www.thethreadstudio.com for Lazertran.
Good luck
Post a Comment