Friday, November 25, 2005

Choosing Images


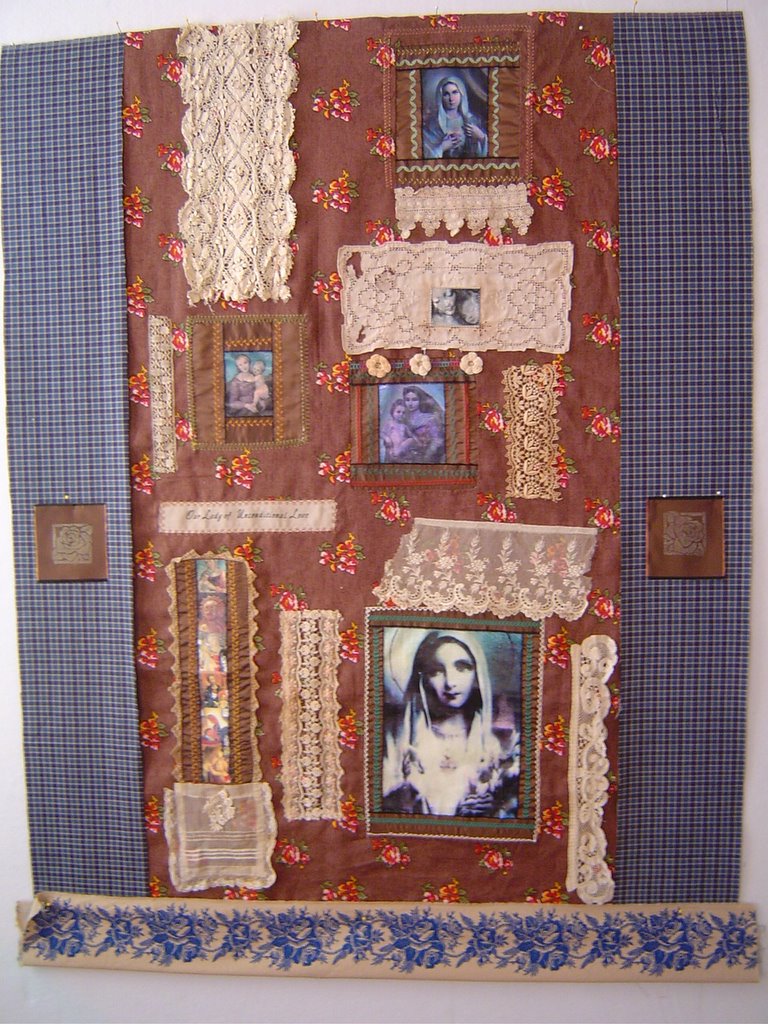
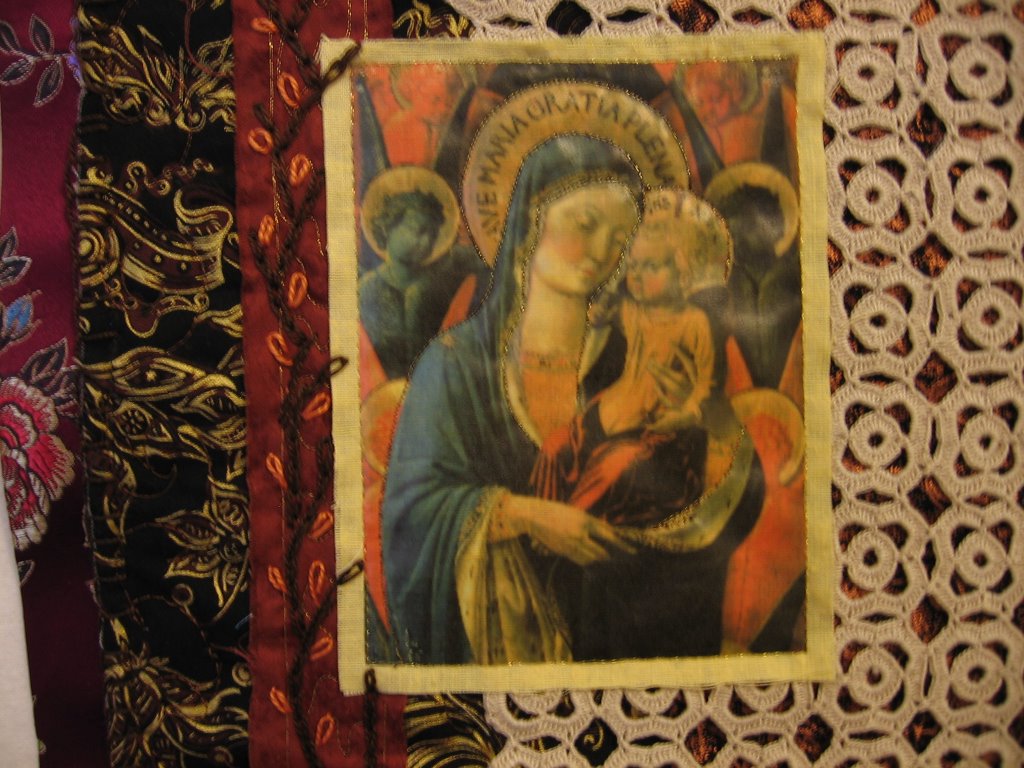
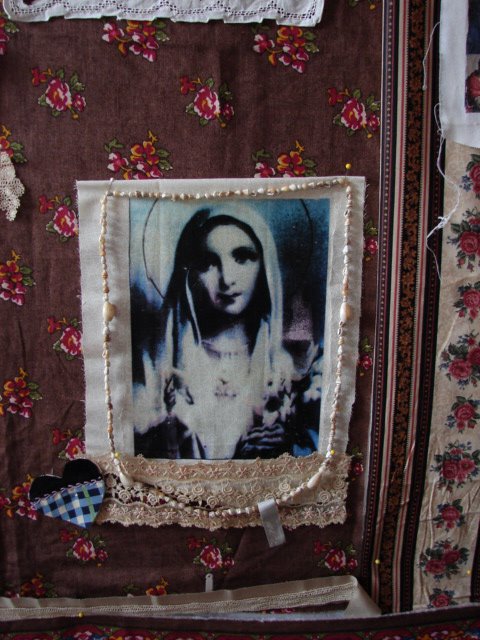
I got to the stage with my Gold Madonna where I had to choose an image to put in the middle of all that beading. I have been concerned about copyright issues with some of the images I've looked at because, although most are more than 100 years old, the photographs of the images are not, and may be copyright protected. I decided to look at photographing images I have in my house and using these in my projects.

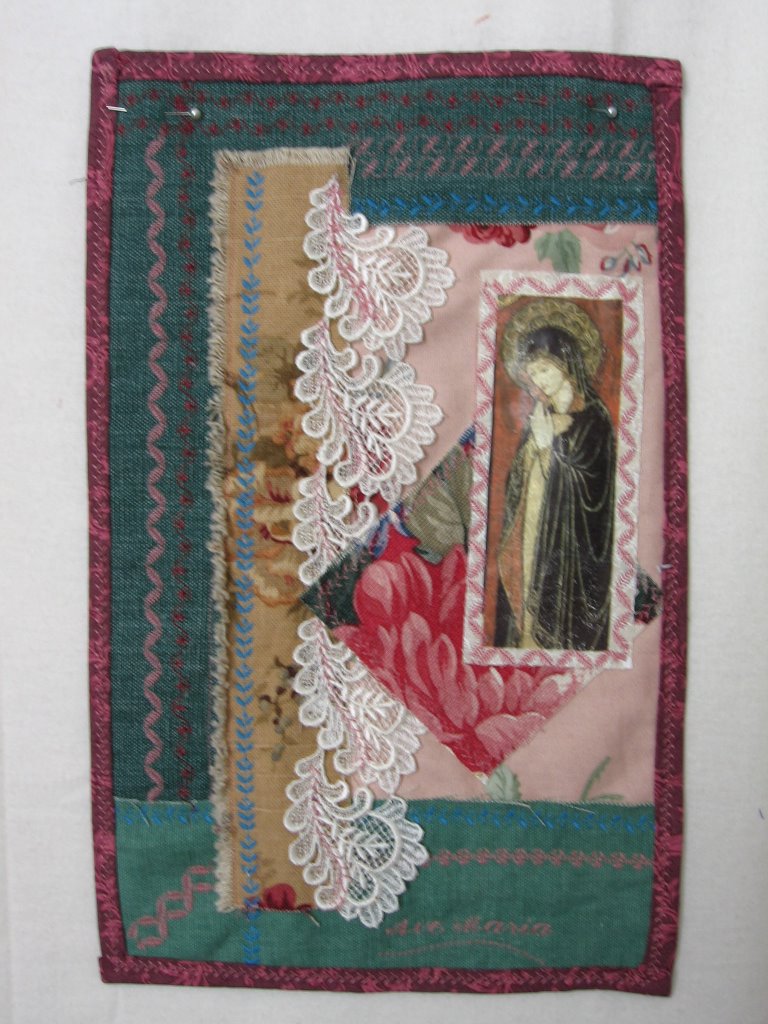
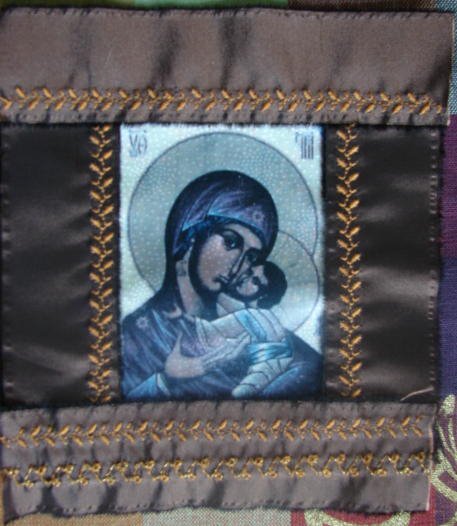
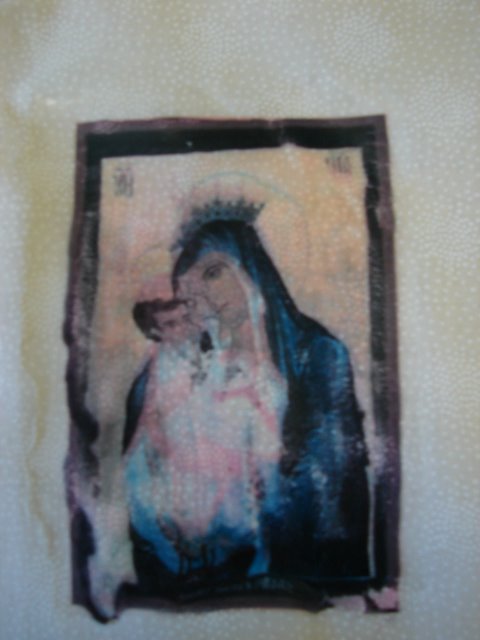
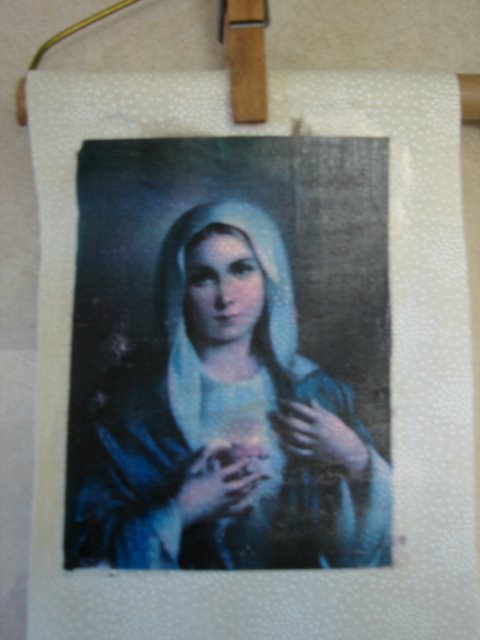
The first image is my photo of my Virgin of Guadalupe statue, one of those mass-produced popular statues, I bought her at a stall near the border in Tijuana. She has a bit of the Barbie doll look to her, but I changed the photo from color to sepia, and I think this has some possibilities. The second image is a photo of a small plaque I bought when I was pregnant with my daughter. It's a reproduction of an unidentified icon, and it has a lot a personal meaning to me.

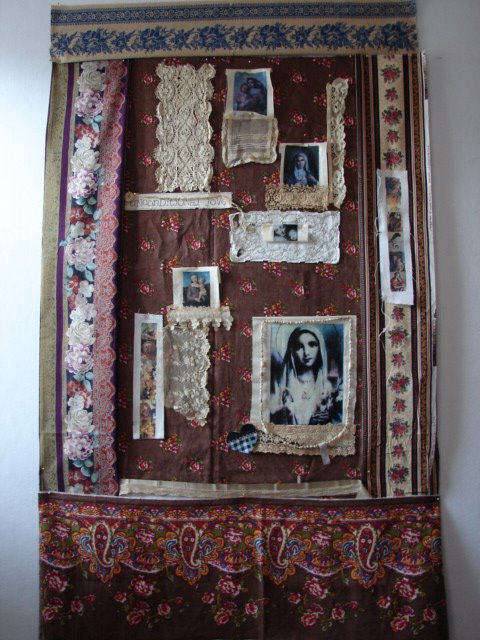
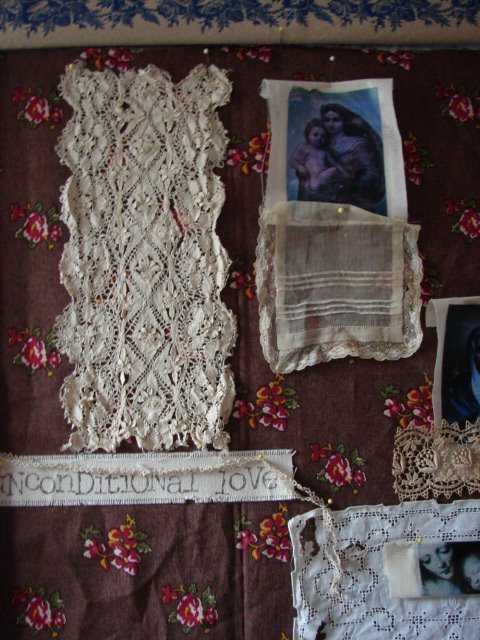
It occurred to me Debra, that with your virgin collection, you've got a lot of images around you. Have you thought of using any of those?

Barbara

Thursday, November 17, 2005

Almost Ready for Quilting

Madonna with pinned borders
My original intent with this wallhanging was to use the paisley border that came on the bottom of this linen fabric. Once the wallhanging was constructed, the border seemed too much. Likewise, I thought about using 2 striped fabrics that I had bought for the project. They didn't have any specialness about them either. So, 3 of the border choices were abandoned. I am going to have a top thin border but it is folded under the bottom rose fabric. I haven't cut it yet.

I thought that I would embellish this piece heavily too. Once the lace fragments (many of them are hand crochetted or tatted) were sewn on, I liked them enough by themselves that I doubt I will do much more embellishing, except to add some buttons in key spots.

I have enjoyed the machine stitching as embellishments. The linen has been a bit of a challenge. It wants to stretch out of shape. But, I like the way the brown gives the lace importance and makes the whole piece look very old fashioned.printed tape


Once I attach the borders, I will begin the handquilting. The stitches on my test sample sunk into the linen due to the coarseness of the fabric but I think I will still be able to get the impression that I love with handquilting. teadyed linen


The overall piece is about 45 x 35 inches. This doily was teadyed because it turned out to be "too white" for the composition.

rubberstamped roserubberstamped rose on taffeta for the border

I have wanted to make something that was reminiscent of an old fashioned dress with apron or lace blouse. I think this recalls that feeling. I envision Mary wearing something like this wallhanging--like a pioneer woman's prairie ensemble.

Tuesday, November 15, 2005

Our Lady of the Flowers (9x11)


I took the plunge a bought a new sewing machine also. Debra is such an inspiration in all things artistic that I couldn't resist. That, and my 30 year old Viking bit the dust. This is a test piece that I made to try out some of the features on my new machine. It's fun having so many possibilities at my disposal. Barbara

Thursday, November 10, 2005

Stitching up Madonna

Examples of the Madonna blocks that I plan to inset into my background piece. I am going to cut a "window" in the background and have these units behind each window.

Having fun trying out the new decorative stiches on my machine. I am leaving plenty of space for beading & even an additional row of stitches. Stitches are on taffeta with the raw edge showing against the edge of the image. ~~~Debra


Monday, November 07, 2005

Our Lady of the Trees


This turned out to be a fun and fulfilling project. I'm still working on the laborious hand work on my Gold Madonna, but this one was spontaneous and I really like the looks of it. My experience is that these accidental compositions are some of the best ones. The question then is, how do we as artists create the conditions for these happy accidents? Perhaps the key is to mess around with our materials a lot so that new things can jump out at us.

I solved the binding issue on this piece by doing a blanket stitch with pearl cotton by hand all around the edge. Then I slip stitched that brocade strip to the back on one side so that it extends over the edge. I'm liking the looks of these unfinished edges. One of my challenges is to not automatically turn every edge under. The larger photo makes it look wavy-edged, but I just need to block it more.

This is a small piece, 11x21. It's really the perfect size for a devotional item that one person will use for meditation.
--Barbara

Saturday, November 05, 2005

Fall Preliminary Madonna

Overall Look
The Main Structure


Detail
Detail of Section with Unconditional Love


Main Madonna
Main Madonna


Paisley Border
I plan to cut the bottom paisleys and add the roses as applique in the quilt's body

Tuesday, November 01, 2005

The Best of the Bunch!


Isn't she beautiful?

Hanging Madonna Out to Dry

On my personal blog today, I mentioned that part of the creative process that is difficult for me is experimenting.

But

I did just that this morning with the transfers.

I feel like I have made enough to tackle the large one that I plan to be the central portion of my upcoming fall piece. And, you know what, if it bombs, I can make another one---what a novel thought for me!

Here a few tips that I learned:

  1. Make sure the transparency is the right one for your printer. My inkjet printer uses a transparency with a smooth and a rough side. The rough side is the one that accepts and releases the ink.
  2. The images with more contrast show better. Some ink colors give off more color than others even though the transfers are consistent.
  3. When applying the transfer medium, put on a consistent layer. It doesn't have to be very thick but it does have to be even.
  4. When applying the transfer medium, any that goes over the edge of the image has to be dealt with in the piecing or appliquing part so keep that in mind. Don't waste alot on the outside margin. By the same token, make sure the edges are well covered so your whole image transfers.
  5. Let the images dry before "testing" them with your finger!
  6. If the image is not coming out on the edge, repress with your spoon or credit card until the medium releases smoothly.
  7. Be sure and reverse any writing. It has been bugging me for weeks that people said it was possible. Today I found out how to do it-----it is an option on the printing layout.


Too much medium--the image ran when pressure was applied


Some of the ink colors didn't transfer as well as others


Although the full image didn't transfer, I can use this on a Fantasy postcard so a "goof" is OK!


Close to Perfect!